
Product videos have become an important part of e-commerce content. Customers cannot physically touch, examine or demonstrate a product when shopping online, so visual content needs to communicate as much useful information as possible.
A well-planned product video can show the product from different angles, demonstrate how it works, highlight important features and give customers a better understanding of its size, appearance and functionality.
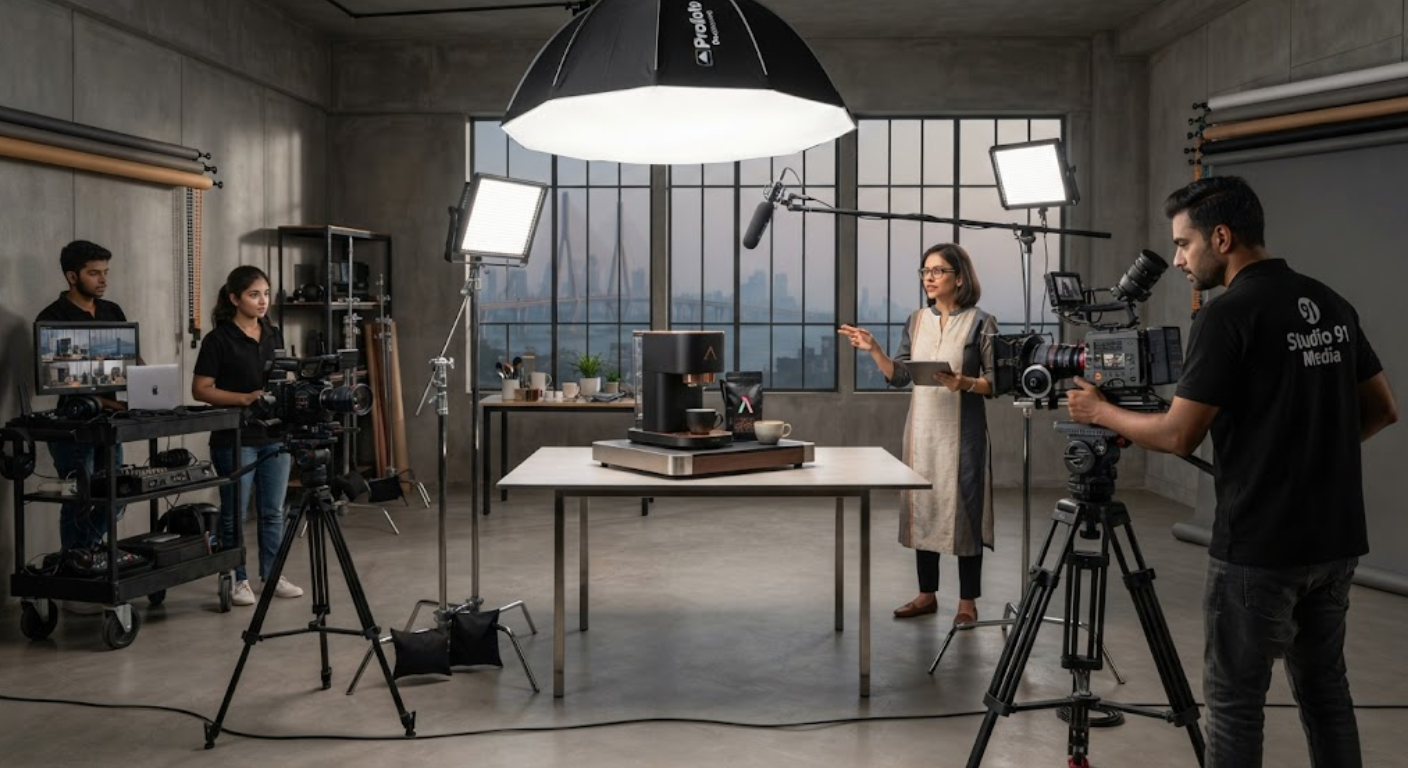
However, creating an effective product video requires more than simply placing a product in front of a camera. Lighting, styling, camera angles, background, script, demonstrations, props, audio and editing all need to work together.
This is why product video shoot planning should begin before the production day.
For e-commerce brands, the objective is not simply to create a visually attractive video. The video should help customers understand the product and move closer to making a purchase.
Whether you sell fashion, cosmetics, electronics, jewellery, food products, home accessories or other consumer products, a structured production process can help you create better content and make your shoot more efficient.
This guide explains how to plan a product video shoot from the initial objective and script to production, editing and final delivery.
1. Define the Purpose of Your Product Video
Before arranging cameras or booking a studio, decide what the product video needs to accomplish.
Different e-commerce videos can have completely different objectives.
For example, your product video may be designed to:
- Introduce a new product
- Explain how a product works
- Demonstrate important features
- Show the product in use
- Answer common customer questions
- Highlight product quality
- Show product size and proportions
- Create social media advertisements
- Support an e-commerce product page
- Build trust with potential customers
A product demonstration video may require detailed close-ups and practical demonstrations.
A social media Reel may need a fast pace, vertical framing and short attention-grabbing scenes.
A premium brand video may focus more heavily on visual storytelling, styling and cinematic movement.
Therefore, product video shoot planning should always begin with the intended use of the final video.
Ask:
Who will watch this video?
Where will they watch it?
What do you want them to understand after watching it?
The answers will influence the script, duration, camera setup, aspect ratio, lighting and editing style.
2. Understand Your Target Customer
A product video should be created for the customer, not only for the brand.
Think about the questions a potential buyer may have before purchasing.
For example:
- What does the product look like?
- How large is it?
- How is it used?
- What problem does it solve?
- What makes it different?
- What materials are used?
- How does it work?
- What does it look like from different angles?
- How does it perform in a real situation?
Your video should answer the most important questions visually.
For example, if you are selling a skincare product, customers may want to see the packaging, texture, application process and product presentation.
If you are selling an electronic product, they may need to see controls, ports, dimensions, operation and key features.
If you sell clothing, the video may need to show the garment being worn, movement, fabric details and fit.
Understanding the target customer makes how to plan a product video shoot much easier because every shot can be connected to a specific customer question.
3. Create a Product Video Concept
Once the objective and audience are clear, create a simple concept for the video.
The concept determines how the product will be presented.
Some common approaches include:
Product Demonstration
Show exactly how the product works.
Problem and Solution
Start with a customer problem and demonstrate how the product addresses it.
Feature Showcase
Focus on the most important product features through close-ups and demonstrations.
Lifestyle Demonstration
Show the product being used naturally in a realistic environment.
Premium Brand Film
Use cinematic visuals, controlled lighting and detailed product shots to communicate brand positioning.
Unboxing Experience
Show packaging, opening, product details and first impressions.
The concept does not have to be complicated.
A simple, well-executed idea can often communicate a product more effectively than an overly complicated production.
The important thing is to decide the visual direction before the shoot.
4. Write a Clear Script and Shot List
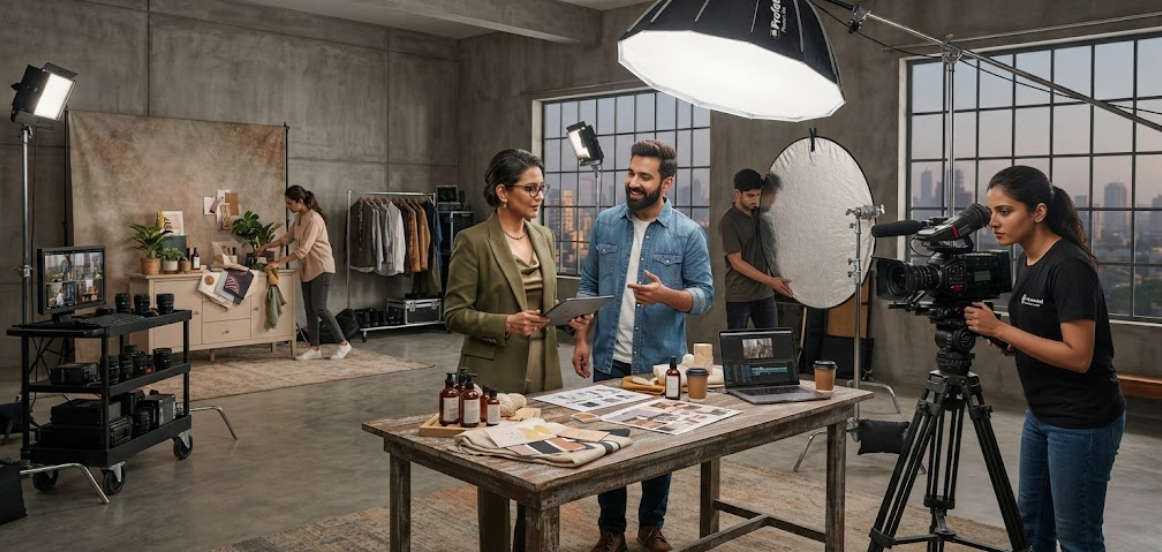
A script provides the structure, while a shot list tells the production team what needs to be captured.
For a simple product video, the structure could be:
- Opening product shot
- Product introduction
- Main feature
- Product demonstration
- Detail close-ups
- Benefits
- Usage example
- Final product shot
- Call to action
The shot list can include:
- Wide product shot
- Front angle
- Side angle
- Close-up details
- Product in use
- Hand interaction
- Packaging
- Texture shots
- Feature demonstrations
- Lifestyle shots
- Slow-motion details
A detailed shot list prevents important footage from being forgotten.
It also allows the production team to organize the shoot efficiently.
This is an essential part of how to plan a product video shoot because every additional setup can take time.
When the required shots are known in advance, the team can group similar shots together and reduce unnecessary changes.
5. Prepare the Product Before the Shoot
The product should look its best before it reaches the camera.
Small imperfections that may not be noticeable in everyday use can become very visible in high-resolution video.
Before production, inspect the product carefully.
Product Preparation Checklist
- Clean the product thoroughly
- Remove dust and fingerprints
- Check packaging
- Remove unwanted stickers
- Steam or iron fabric products
- Polish reflective surfaces
- Check labels and finishes
- Prepare multiple product units if possible
- Charge electronic products
- Keep replacement pieces available
- Prepare all accessories
For products with reflective surfaces such as jewellery, glass, watches or polished electronics, preparation is particularly important.
You should also have backup units when possible.
If a product gets damaged during production, having another unit available can prevent unnecessary delays.
Good product preparation is one of the simplest ways to improve final video quality without significantly increasing production costs.
6. Choose the Right Background and Styling
The background should support the product rather than compete with it.
Depending on the brand and product, you may use:
- Clean white backgrounds
- Neutral studio backgrounds
- Brand-relevant colours
- Lifestyle environments
- Minimal product tables
- Textured surfaces
- Premium styled sets
The right choice depends on where the video will be used and how the brand wants to be perceived.
For marketplace product content, a clean presentation may be more appropriate.
For social media advertising, a more creative environment may help capture attention.
For premium products, carefully controlled styling can communicate quality and positioning.
Props can also add context.
For example, kitchen products can be shown with relevant cooking ingredients. Skincare products can be presented with appropriate beauty elements. Fashion accessories can be styled with complementary wardrobe pieces.
However, props should remain secondary.
The product should always remain the visual focus.
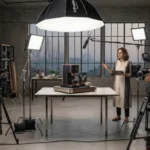
7. Plan Lighting for Product Details
Lighting has a major influence on product video quality.
The lighting setup should reveal the product accurately while creating an attractive visual presentation.
Depending on the product, the team may use:
- Softboxes
- LED lights
- Diffusers
- Reflectors
- Flags
- Practical lights
- Background lighting
- Controlled highlights
Different products require different lighting approaches.
Transparent products may require careful backlighting.
Reflective products may require controlled reflections.
Food products may benefit from soft directional lighting.
Fashion products may need lighting that clearly shows fabric texture and colour.
The purpose is not simply to make the product bright.
The purpose is to create controlled illumination that shows important details accurately.
Good lighting can make a relatively simple studio setup look highly professional.
8. Capture Multiple Camera Angles and Product Details
A product should not always be filmed from a single static angle.
Different perspectives help customers understand the product more clearly.
Depending on the product, consider capturing:
- Front view
- Back view
- Side view
- Top view
- Close-up
- Detail shot
- Product-in-use shot
- Packaging shot
- Hand interaction
- Lifestyle shot
Movement can also make product videos more engaging.
Examples include:
- Slow camera movement
- Product rotation
- Controlled push-in
- Tracking shot
- Handheld interaction
- Overhead movement
However, movement should have a purpose.
Too much movement can distract from the product.
The goal is to create enough visual variety to maintain attention while keeping the product easy to understand.
This is another important consideration when learning how to plan a product video shoot.
9. Plan Product Demonstrations and Human Interaction
Products often become easier to understand when customers see them being used.
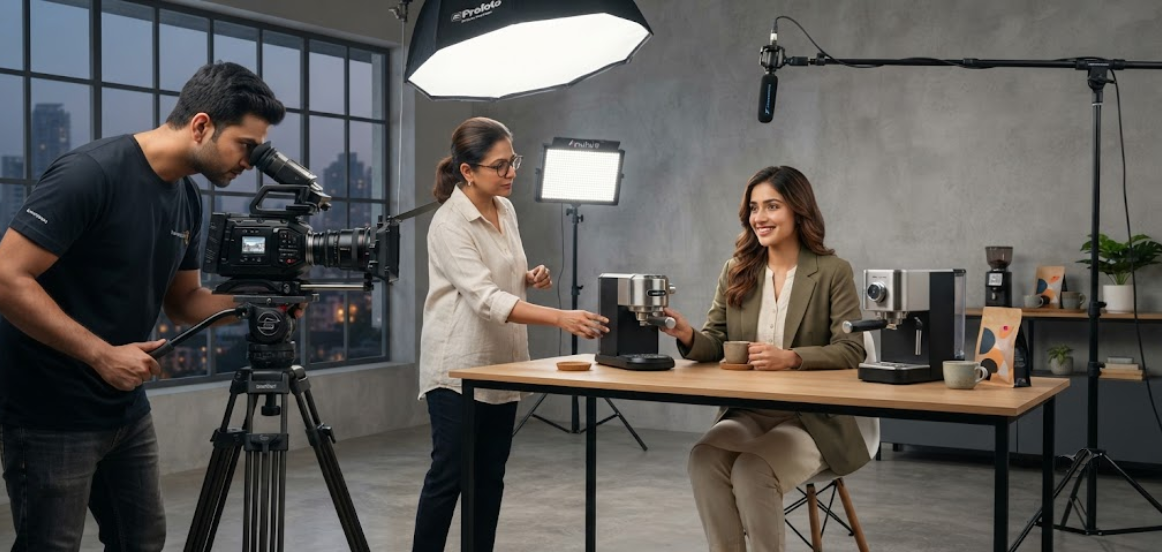
Human interaction can demonstrate:
- Size
- Scale
- Functionality
- Ease of use
- Application
- Texture
- Movement
- Comfort
- Real-world usage
For example, a person can demonstrate how a kitchen appliance works.
A model can show how clothing fits.
A beauty creator can demonstrate product application.
A customer-facing product can be shown being opened, assembled or operated.
If people appear in the video, plan their role in advance.
Consider:
- Wardrobe
- Grooming
- Hand positioning
- Demonstration sequence
- Facial expressions
- Camera angles
- Product interaction
Human interaction should feel natural.
The product remains the central subject, while the person provides context.
10. Capture Vertical and Horizontal Versions
One product video may need to work across multiple platforms.
Your e-commerce website may require horizontal video, while Instagram Reels and YouTube Shorts typically require vertical content.
This means aspect ratio should be considered before production begins.
Depending on your content strategy, you may need:
- Horizontal video
- Vertical video
- Square crops
- Short clips
- Longer demonstrations
If vertical content is important, composition should be planned specifically for vertical framing rather than simply cropping a horizontal video later.
The production team should know the intended formats before recording.
This can influence:
- Camera positioning
- Product placement
- Model positioning
- Background design
- Lighting
- Composition
Planning multiple formats during the initial shoot can save time later.
11. Plan Editing, Sound and Graphics Before Shooting
A product video is not complete when filming ends.
Post-production determines how the footage becomes a finished marketing asset.
Depending on your requirements, editing may include:
- Cutting unnecessary footage
- Arranging the story
- Colour correction
- Sound design
- Music
- Voice-over
- Product feature graphics
- Captions
- Logo animation
- Transitions
- Speed adjustments
- Subtitles
- Call-to-action screens
For e-commerce videos, clarity should remain the priority.
Graphics should support the product rather than overwhelm it.
If a product has technical specifications or important features, simple graphics can help communicate them.
Audio should also be considered carefully.
If the video includes narration or dialogue, professional audio recording and cleanup can significantly improve the viewing experience.
Planning post-production before filming ensures the production team captures everything required for the final edit.
Conclusion
Knowing how to plan a product video shoot can make a significant difference to the quality and efficiency of your e-commerce content.
The process should begin with a clear objective and target audience. From there, develop the concept, script and shot list before preparing the product, styling the set and arranging the production equipment.
Think about the entire customer journey.
What does the customer need to see?
What questions do they have?
Which product features need to be demonstrated?
Which details require close-up shots?
Where will the final video be published?
Answering these questions before production helps ensure that every shot has a purpose.
A well-planned product video shoot can also generate multiple assets for your website, product pages, social media channels and advertising campaigns.
The goal is not simply to make a beautiful video.
The goal is to create clear, useful and professional product content that helps customers understand your product and make informed purchasing decisions.