
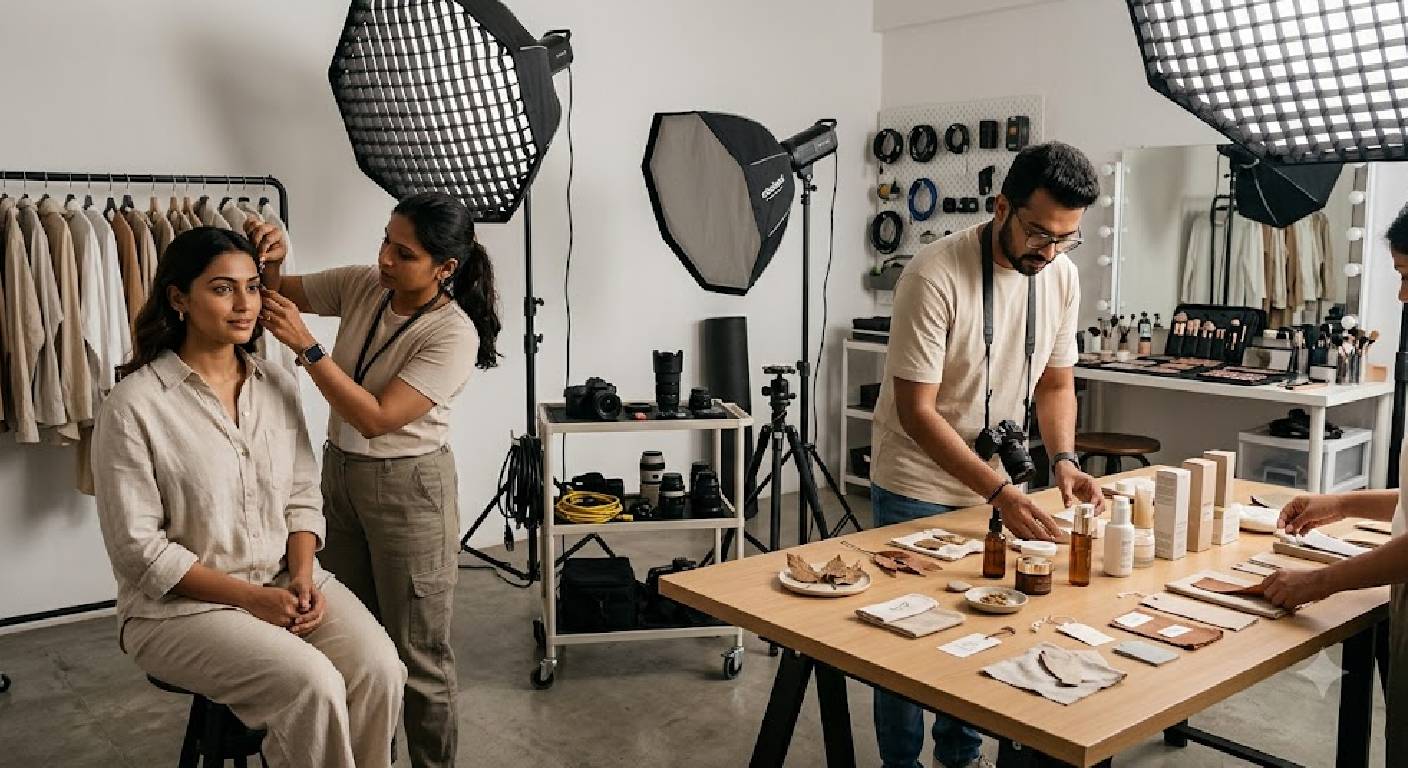
A successful commercial photoshoot begins long before the camera starts clicking. Whether a business is creating advertising campaigns, e-commerce product images, fashion photographs or promotional content, careful preparation plays an important role in the final results.
Models need to understand the concept, clothing, poses and expressions expected during the shoot. Products must be clean, correctly presented and ready to photograph from multiple angles. Lighting, props, backgrounds and styling also need to work together to communicate the intended brand message.
Without proper preparation, even a well-equipped studio can experience unnecessary delays. Wrinkled clothing, dusty product surfaces, unsuitable accessories or unclear instructions can lead to repeated takes and additional editing work.
Learning how to prepare models and products for a commercial photoshoot helps businesses organise production, maintain visual consistency and make better use of their photography budget.
For example, a jewellery campaign may require carefully styled models, spotless jewellery and detailed close-up shots. An e-commerce stationery shoot may need organised product variations, consistent backgrounds and accurate colour representation. Each project has different requirements, but the principle remains the same: preparation improves the chances of capturing the images the business actually needs.
MW Stuudio offers product photography services in Mumbai and e-commerce product photography for businesses planning professional visual content.
Here are 15 practical ways to prepare models and products for a successful commercial photoshoot.
1. Define the Photoshoot Concept and Objectives
Before selecting models, preparing products or booking a studio, establish what the photoshoot needs to achieve.
Commercial photography can serve several purposes, including product launches, website imagery, social media campaigns, catalogue production, brand advertising and promotional materials. Each objective influences the creative direction and production requirements.
For example, a fashion campaign may focus on movement, personality and styling, while a product catalogue may prioritise clear product visibility, accurate colours and consistent framing.
Start by defining the campaign’s audience, key message and intended use. Decide whether the images should feel premium, minimal, energetic, natural or editorial.
Create a mood board containing reference images, colour palettes, lighting styles, model poses and product arrangements. Share it with the photographer, stylist, models and other relevant team members before the shoot.
Also prepare a shot list that identifies the essential photographs, including wide shots, close-ups, individual product images and lifestyle compositions.
A clear creative brief reduces misunderstandings and helps everyone work towards the same visual outcome.
2. Select Models Who Match the Brand Identity
The model’s appearance, expressions and presentation should support the brand’s identity and connect with its intended audience.
Choosing a model involves more than selecting someone who looks attractive in photographs. Consider whether the person’s overall presentation suits the product, campaign concept and customer demographic.
For example, a premium fashion campaign may require a particular styling direction, while a fitness product advertisement may prioritise an athletic appearance and confident movement. A family-oriented product campaign may need a more natural and approachable presentation.
When evaluating potential models, review their portfolio, experience, ability to follow direction and suitability for the planned shots.
Consider the following factors:
- Relevance to the target audience.
- Comfort in front of the camera.
- Ability to express the intended mood.
- Suitability for the product and styling.
- Availability for the complete shoot schedule.
Communicate the creative expectations before confirming the booking. Share reference photographs and explain the general style of the campaign so the model understands the assignment.
Confirm fees, usage rights, working hours and any other agreed terms in advance. For minors, ensure appropriate guardian involvement and compliance with applicable requirements.
The right model should complement the product rather than distract attention from it.
3. Prepare a Detailed Model Brief Before the Shoot
Models perform more confidently when they understand what is expected of them. A detailed brief provides essential information before they arrive at the studio.
The brief should explain the campaign concept, product category, target audience, wardrobe requirements, expected poses and general mood.
For example, a skincare campaign may require soft expressions, natural-looking makeup and gentle product interactions. A sportswear campaign may involve dynamic movement, energetic expressions and several action-oriented poses.
Share visual references rather than relying entirely on written descriptions. Images can communicate posture, camera angles, hand placement and facial expressions more clearly than vague instructions.
Your model brief can include:
- Shoot date, location and arrival time.
- Campaign concept and intended audience.
- Clothing, footwear and accessory requirements.
- Grooming and makeup expectations.
- Required poses and expressions.
- Product interaction instructions.
- Breaks, schedule and contact details.
Explain whether the model should arrive with makeup completed or expect professional makeup services at the studio.
Allow time for questions before the shoot. Addressing uncertainty in advance helps reduce interruptions during production and creates a more comfortable working environment.
4. Organise Wardrobe, Clothing and Accessories
Wardrobe preparation is particularly important for fashion, lifestyle, jewellery and personal-care campaigns. Clothing and accessories contribute to the overall composition and can influence how the product is perceived.
Select outfits that complement the campaign’s colour palette and styling direction. Avoid introducing unnecessary patterns, logos or accessories that compete with the main product unless they are intentionally part of the creative concept.
Prepare every outfit before the shoot. Check for stains, loose threads, missing buttons, wrinkles and incorrect sizing. Steam or iron garments where appropriate, and arrange them in the order they will be used.
For shoots involving multiple looks, label outfits and group the relevant accessories together. This helps the styling team make quick changes without searching through bags or racks.
Keep essential backup items available, such as lint rollers, safety pins, clips, spare buttons and suitable undergarments.
For jewellery photography, ensure that clothing necklines and sleeves allow the jewellery to remain visible. For footwear campaigns, choose outfits that support the intended visual style without distracting from the shoes.
A well-organised wardrobe makes transitions smoother and helps maintain consistency across the final photographs.
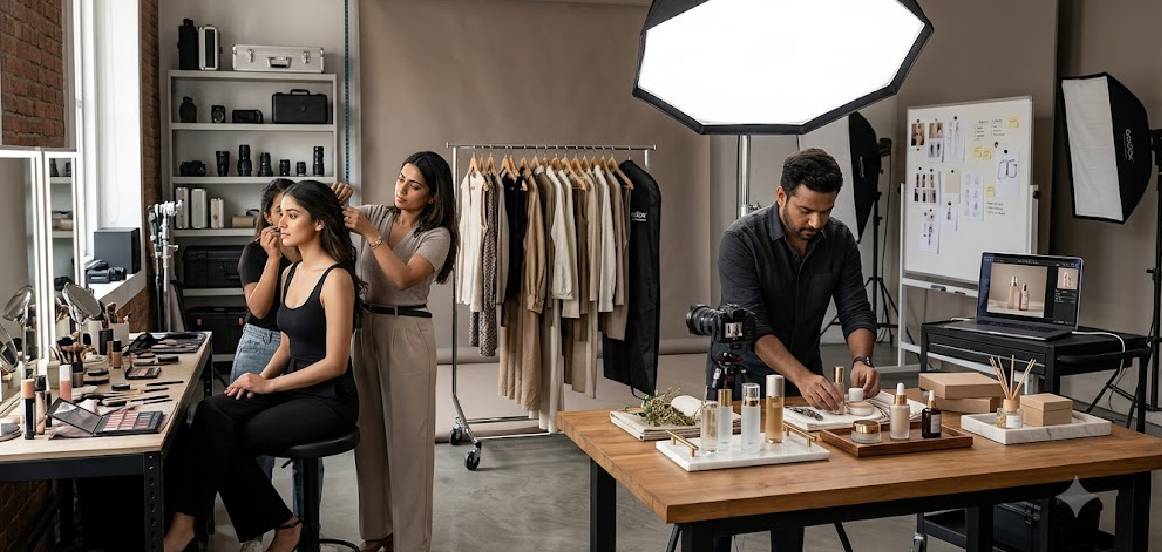
5. Plan Professional Makeup, Hair and Grooming
Makeup, hair and grooming should complement the lighting, camera distance and creative direction of the photoshoot.
The objective is not always to create a heavily styled appearance. Some campaigns require polished editorial makeup, while others benefit from a natural look that keeps attention on the product.
Discuss the desired appearance with the makeup artist and hairstylist before the shoot. Share reference images and explain whether the photographs will feature full-length poses, close-up portraits or detailed product interactions.
Prepare a suitable grooming kit with products such as blotting papers, tissues, a comb, a mirror and other items agreed upon with the styling team.
Allow sufficient time for preparation, particularly when the campaign requires several looks or multiple models.
During the shoot, check hair placement, shine, makeup consistency and small details that become visible in close-up images. Lighting can reveal details that are less noticeable to the naked eye, so regular monitoring is useful.
Respect the model’s preferences and communicate any requested changes professionally.
A coordinated grooming approach helps maintain a consistent appearance across different poses, camera angles and lighting setups.
6. Clean and Inspect Every Product Before Photography
Product cleanliness is essential because cameras can capture dust, fingerprints, smudges and small surface imperfections that may be difficult to notice in ordinary lighting.
Before the shoot, inspect every product carefully and clean it according to the manufacturer’s recommendations.
Different materials require different handling methods. Glass may need a suitable lint-free cloth, while metal, plastic, fabric and delicate surfaces may require specific cleaning products or techniques.
Avoid using cleaning solutions that could damage finishes, leave residue or change the appearance of the product.
Pay particular attention to reflective products such as jewellery, watches, glass bottles and polished metal accessories. These surfaces can reveal fingerprints and unwanted reflections very clearly.
Use clean gloves where appropriate, especially when handling polished products or items that are difficult to clean repeatedly.
After cleaning, place products in a protected area until they are ready to be photographed. Keep cleaning cloths and appropriate supplies nearby for quick touch-ups between shots.
A final inspection immediately before photography helps prevent avoidable retouching and supports a more professional result.
7. Check Product Condition, Packaging and Variations
A product may be clean but still unsuitable for photography if its packaging is damaged, its components are missing or the wrong variation has been selected.
Before the shoot, inspect the entire product and confirm that it matches the approved sample or campaign brief.
For packaged products, check labels, seals, boxes, protective films and visible surfaces. Replace damaged packaging when appropriate and ensure that labels face the correct direction.
For clothing and accessories, confirm sizes, colours, materials and required components. For electronics, verify that the correct model is being photographed and that accessories are available when needed.
Create a simple inventory list containing product names, SKU numbers, variations and planned shots. This becomes especially useful when photographing a large catalogue.
If a product has multiple colours or sizes, decide whether each variation needs a separate image or whether a shared composition is sufficient.
Keep products grouped by category or shooting sequence so that the team can move efficiently between setups.
These checks help ensure that the final images accurately represent the products customers will receive.
8. Prepare Products for Accurate Colour and Material Representation
Commercial product photography should present products as accurately as possible. Customers rely on images to understand colour, texture, finish and material before making a purchase.
Incorrect colour representation can create confusion, particularly for clothing, cosmetics, paint, stationery, jewellery and home decor.
Begin by checking that products are photographed under consistent lighting. Mixed light sources can create unwanted colour casts, making neutral surfaces appear yellow, blue or green.
Use suitable lighting and a consistent camera workflow. Where colour accuracy is important, a colour reference chart and a calibrated monitor can help the team evaluate the results more reliably.
Pay attention to materials with different visual characteristics. Glossy surfaces reflect their surroundings, transparent objects require careful background and lighting choices, and textured fabrics need enough detail to communicate their appearance.
Avoid editing that makes a product look materially different from the item being sold.
For e-commerce photography, compare the processed images with the actual products under appropriate viewing conditions before approving them.
The aim is to create visually appealing images while preserving the details customers need to make informed decisions.
9. Create a Shot List for Models and Products
A shot list is a practical checklist of every photograph required for the campaign. It helps the team work systematically and reduces the risk of missing important images.
Without a shot list, the photographer may spend too much time on similar compositions while overlooking product details, alternate poses or images needed for specific platforms.
Divide the list into clear categories, such as product-only shots, model portraits, lifestyle compositions, close-ups and campaign hero images.
For each photograph, record the product, model, outfit, camera framing, background and intended use.
For example, a skincare campaign may require a front-facing product image, a model holding the product, a close-up application shot and a wider lifestyle composition.
Include variations needed for the website, social media, advertisements and printed materials. Note the intended aspect ratio when it affects the composition.
Mark each shot as completed and review the images during the session. This makes it easier to identify gaps while the product, model and lighting setup are still available.
A well-prepared shot list keeps production organised and helps the team use the available shooting time more effectively.
10. Arrange Props and Backgrounds Before the Shoot
Props and backgrounds help establish context, create visual interest and support the campaign’s overall message.
However, every additional element should have a purpose. Unnecessary props can distract from the product or make the composition feel cluttered.
Choose backgrounds that complement the product’s colour, shape and intended positioning. A minimalist background may suit premium skincare, while a lifestyle setting could be more appropriate for home decor or food products.
Prepare all props before the shoot and inspect them for dust, damage and unwanted marks. Check their size and placement in relation to the model and product.
For model photography, confirm that props are safe and comfortable to use. If the model needs to hold, wear or interact with an item, test the arrangement before capturing the final images.
Keep the background and supporting elements consistent across photographs that will appear together in a catalogue or campaign.
Also consider how the image will be cropped for different platforms. Important product details should not disappear when the composition is adapted for mobile or social media.
Thoughtful prop and background preparation creates a more cohesive visual story without taking attention away from the main subject.
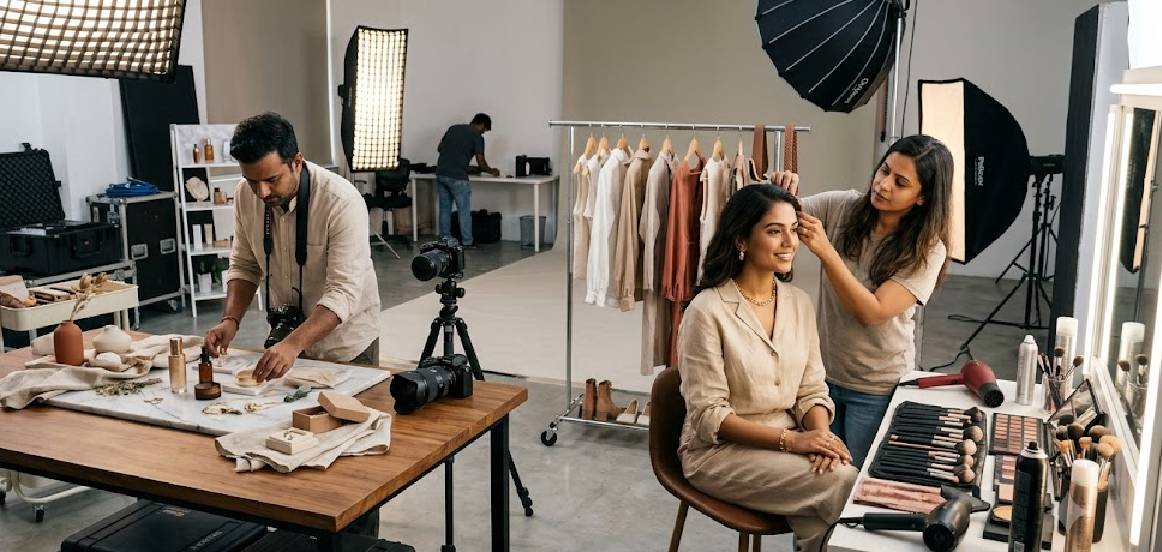
11. Rehearse Model Poses and Product Interactions
Models may need to perform several poses, hold products at specific angles or demonstrate how an item is used. Rehearsing these movements before the main shoot helps the team identify problems early.
Start with simple poses and gradually introduce more complex movements. Check whether the product remains visible, whether hands cover important details and whether the model can maintain a comfortable position.
For beauty or skincare campaigns, practise how the model holds the packaging and where the product should sit in relation to the face. For jewellery campaigns, check that rings, earrings, necklaces or bracelets are positioned correctly.
Provide clear direction without making every movement feel artificial. Natural gestures often work well for lifestyle imagery, while structured poses may be suitable for catalogue or fashion campaigns.
A few test photographs can reveal issues with reflections, shadows, product visibility or framing before the team captures the complete sequence.
If the product needs to be demonstrated, rehearse the process and check that the movement accurately represents normal use.
Preparation should make the model feel supported rather than pressured. Comfortable, clear direction helps the photographer capture more useful expressions and compositions.
12. Plan Lighting and Camera Setups for the Product
Lighting affects how products appear in photographs, including their shape, texture, colour and surface finish.
A lighting setup that works well for a matte fabric product may not be suitable for a reflective watch, a transparent bottle or a piece of jewellery. The photographer should plan the lighting around the product’s characteristics.
For reflective objects, larger diffused light sources and carefully positioned reflectors can help shape highlights. Transparent products may require controlled background lighting, while textured materials may benefit from lighting that reveals their surface detail.
For model photography, the lighting should also complement skin tones, clothing and the intended mood.
Before the main shoot, capture test frames and inspect them at a useful magnification. Look for distracting reflections, harsh shadows, uneven exposure and areas where important details disappear.
Prepare camera settings and equipment for the planned shots, while allowing flexibility if the creative direction changes.
When a catalogue contains many products, record the lighting arrangement where practical. This can help maintain consistency across repeated sessions.
A planned technical setup gives the team greater control over the final images and reduces the need for avoidable corrections during editing.
13. Coordinate the Photoshoot Team and Schedule
A commercial photoshoot often involves several people, including the photographer, model, stylist, makeup artist, creative director and client representative.
When responsibilities are unclear, small issues can cause delays. A model may be ready before the set is prepared, or the team may discover that an important product is missing after the scheduled shooting time begins.
Prepare a production schedule that includes setup, model preparation, test shots, main shooting blocks, outfit changes, breaks and final checks.
Assign clear responsibilities to the relevant team members. Identify who approves the images, who handles styling changes and who tracks the shot list.
Share the schedule and contact details with everyone before the shoot. Confirm the location, arrival time, parking or access arrangements and any equipment requirements.
Allow buffer time for unexpected adjustments. Complex styling, multiple products and several lighting setups generally require more preparation than a simple product session.
Keep products, wardrobe items, props and accessories organised so that they can be accessed quickly.
A coordinated team can focus on creative quality instead of repeatedly resolving preventable logistical problems.
14. Review Images During the Shoot
Do not wait until the entire photoshoot is finished to discover that essential details are missing or the product appears incorrectly in the frame.
Reviewing photographs during production allows the team to identify and correct problems while the model, product and setup are still available.
Check technical quality as well as creative direction. Confirm that the product is sharp, important details are visible and the exposure is suitable. Inspect clothing, hair, jewellery placement, reflections and background distractions.
Compare the images with the shot list and campaign brief. Make sure the required angles, variations and compositions have been captured.
Where possible, review photographs on a larger screen rather than relying only on the camera display. A larger view can make small imperfections easier to identify.
If the client or creative director needs to approve the images, agree on a practical review process before production begins.
Keep in mind that a photograph can look attractive but still fail to meet its intended purpose. An e-commerce image may need a clearer view of the product, while a campaign photograph may need stronger composition or more room for future cropping.
Regular checks reduce the likelihood of expensive reshoots and help ensure the final image collection is complete.
15. Prepare for Post-Production and Final Image Delivery
The photoshoot does not end when the camera stops. Post-production helps turn the selected photographs into finished assets suitable for their intended use.
Before editing begins, organise the files and identify the approved images. Use clear folder names, product identifiers and version labels to reduce confusion.
Agree on the editing requirements in advance. These may include colour correction, exposure adjustments, dust removal, background cleanup, skin retouching, cropping and resizing.
Retouching should improve presentation without misrepresenting the product or changing important characteristics. For example, colour adjustments should preserve the product’s actual appearance, while skin retouching should remain consistent with the campaign’s creative direction.
Prepare final image specifications for each destination:
- Website and e-commerce product pages.
- Social media posts and advertisements.
- Website banners and landing pages.
- Digital catalogues and promotional materials.
- Print assets, where required.
Confirm file formats, dimensions, naming conventions and delivery deadlines with the client or marketing team.
MW Stuudio offers product photography services that businesses can explore when planning commercial product imagery and related production requirements.
A clear post-production workflow helps maintain consistency and makes the final images easier to use across different marketing channels.
Conclusion
Preparing models and products for a successful commercial photoshoot requires careful coordination between creative planning, styling, product inspection, technical setup and post-production.
Start with a clear concept and select models who suit the brand’s identity. Prepare detailed model briefs, organise wardrobe and grooming, and ensure every product is clean, correctly presented and ready for photography.
A structured shot list, suitable props, rehearsed poses and planned lighting help the production team work efficiently. Coordinating schedules and reviewing images during the shoot can also prevent missing shots and reduce the risk of reshoots.
Finally, organise post-production requirements before delivery so that the finished photographs remain consistent with the campaign’s objectives and the product’s actual appearance.
The most effective photoshoots combine preparation with creative flexibility. A clear plan gives the team direction, while thoughtful collaboration allows the photographer, models and stylists to respond to opportunities as they arise.
For businesses preparing a product launch, e-commerce catalogue, fashion campaign or promotional shoot, professional planning can help produce useful, high-quality visual assets. MW Stuudio provides product photography in Mumbai and e-commerce product photography services that businesses can explore according to their requirements.
A successful commercial photoshoot is not simply about capturing attractive pictures. It is about preparing every detail so the final images represent the product accurately, communicate the brand’s message and serve their intended purpose.